 Wishlist
Answer first: keep only the utensils you use and give each a dedicated, out-of-the-way home
To organize cooking utensils without cluttering your counter, pare down to daily essentials, group tools by function, and store most items in drawers, wall rails, or vertical racks—leaving a single slim holder or one frequently-used tool out. This keeps tools accessible while preserving a clear workspace.
Decide what stays on the counter and why
Start by identifying your real cooking habits. Ask: which utensils do I reach for in a typical week? A small set usually includes a spatula, wooden spoon, slotted spoon, tongs and a ladle. Everything else can be stored. The rule: keep on the counter only what you use at least twice a week and what would slow you down if stored elsewhere.
How to quickly audit your utensils
- Empty your current holder(s) or drawer and group items into: Daily, Weekly, Rare, Replace/Donate.
- Test items: if you can’t justify using something in the next month, move it to Rare.
- Consolidate duplicates—keep the best one, store or donate extras.
Choose compact homes that suit your kitchen layout
Match storage to available space and reach. Here are options ranked by how much they keep off the counter.
1. Deep drawer with a segmented organizer (best for keeping counters clear)
Use a shallow or deep drawer with vertical slots or a tray that holds spatulas, whisks, and tongs upright or flat. Vertical placement in a deep drawer uses volume without stealing counter real estate and makes visual scanning easy.
Tip: line the organizer with a nonslip mat so utensils don’t rattle. Reserve a single cutlery tray slot for measuring spoons and one for small whisks.
2. Wall-mounted rail or pegboard (easy to customize)
A slim rail with S-hooks or a small pegboard placed near the stove holds ladles, strainers and tongs without touching the counter. This option keeps items at hand and doubles as a design element when you group metal and wooden tools thoughtfully.
3. Vertical corner organizer or narrow crock (for small counters)
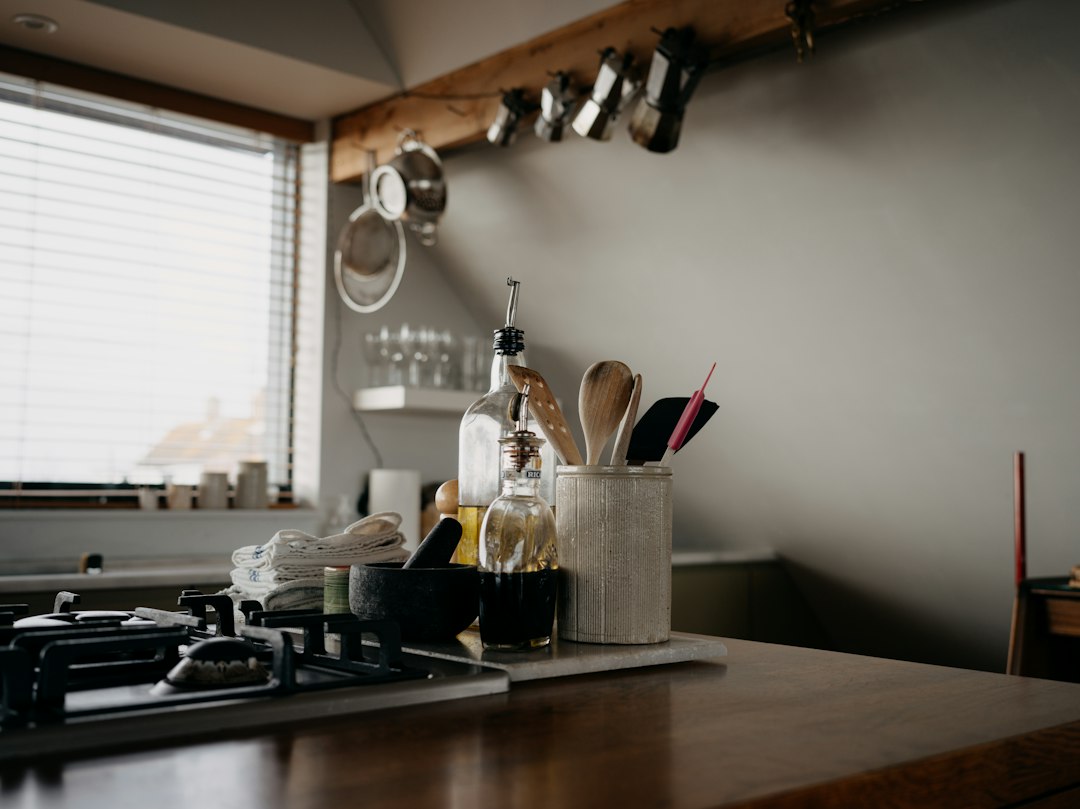
If you must keep a crock, pick a narrow, weighted one and limit it to 3–5 tools. Place it in a corner that doesn’t interrupt prep workflow. Use narrower profiles so you still have elbow room.
4. Under-shelf caddy or cabinet door rack (hidden but accessible)
Under a wall cabinet, a low-profile caddy or mounted hooks on a cabinet door is perfect for measuring cups, spoons or silicone spatulas. It’s cheap, invisible from most angles, and fast to reach.
Organize by task to reduce decision friction
Arrange utensils by cooking function rather than type. Create stations: prep (peelers, paring knives, measuring spoons), cooking (spatulas, tongs, ladle), and baking (whisk, dough scraper). Store each station near where the task happens: baking tools near the counter where you roll dough, cooking tools closest to the range.
Smart product pick: choose a compact, durable utensil set
If you’re paring down or replacing worn tools, a single versatile set saves space and ensures consistency in storage. For most home cooks, a silicone set covers most needs and fits into drawers or narrow crocks.
Design rules that stop counter clutter from coming back
- One visible container max: enforce a single crock or rail—no second “overflow” station.
- Return-to-home habit: always put tools back in their assigned compartment after washing or use a drying rack inside a cabinet so they don’t land on the counter.
- Regular purge schedule: set a three-month reminder to reassess Rare items.
Troubleshooting common small-kitchen problems
Too many small gadgets
If small gadgets multiply, group them in a lidded box and keep it on a high shelf. Only bring the box down for specific tasks; this reduces visual clutter and the temptation to keep everything on the counter.
Drawer is too shallow
If your drawers are shallow, store the least-used items flat in a lower drawer or pantry shelf. For frequently used tools, use a slim-on-its-side organizer or magnetic strips inside cabinet doors.
Utensils get greasy and attract dust
Keep a small soap-and-sponge routine: wash utensils immediately after use and dry before returning them to a drawer or crock. If you use a crock, launder it periodically or choose dishwasher-safe materials.
Adaptations for specific layouts
- Studio or galley kitchens: prioritize vertical wall rails and under-cabinet hooks to reclaim counter space.
- Open-plan kitchens: use display-friendly wooden tools in a narrow crock to keep the aesthetic tidy.
- Families who cook together: assign color-coded or labeled drawers for different cooks to avoid mixed piles.
When you should keep more than one container
A second holder makes sense only if it prevents cross-traffic (e.g., one by the stove and one by the baking station) and you commit to limiting both to specific tool types. If multiple holders become dumping grounds, consolidate.
- Audit and sort utensils into Daily/Weekly/Rare categories.
- Choose one primary storage: deep drawer, wall rail, or narrow crock.
- Place each tool near its task zone (stove, prep, baking).
- Replace duplicates with one versatile set (silicone recommended).
- Add a return-to-home step to dishwashing routine.
- Schedule a quarterly purge of Rare items.
Clear counters start with choices: keep only what you use often, pick storage that fits the kitchen’s flow (drawer, wall, or slim crock), and train a simple return habit. A single well-chosen utensil set plus a place for everything solves most clutter.
How many utensils should I keep on the counter?
Limit visible utensils to 3–6 essential tools you use most often; store the rest in drawers or on rails.
Are utensil crocks bad for small kitchens?
Not inherently—choose a narrow, weighted crock and restrict its contents. Drawers or wall rails usually free more usable counter space.
What’s the best drawer organizer for utensils?
Pick a segmented insert sized to your drawer depth; vertical slots for spatulas and wide flat trays for spoons work well. Nonslip liners keep things tidy.
Can I hang utensils on a magnetic strip?
Magnetic strips are ideal for metal utensils and free counter space; they’re less useful for wooden or silicone tools unless those have hanging loops.
Should I replace wooden utensils with silicone to save space?
Only if you want easier cleaning and heat resistance—silicone can nest and be more drawer-friendly, but keep a couple of wooden tools if you prefer them for certain tasks.